I've been doing a bit of DIY around the flat lately and have been trying to do it on the cheap. Art prints can be really expensive but here's a way to whip up your own art in minutes and all it really costs you is the price of the frame plus a bit of card stock and printer ink. Here's how I did it.
Take a photo you like and open it up in Photoshop. I used an image of my typewriter. Bold, high contrast pics tend to work well.
Now you need to remove the background. Using the quick selection tool, draw on the area you want to make white. When you're happy with the selection, press shift+del to bring up the 'fill' window. Where it says 'use' choose white then hit ok. You may need to feather edges to get a smooth transition.
Now it's time to play around with the threshold. Press on the 'create new fill or adjustment layer' icon at the bottom right of your screen. Select 'threshold' and play around with the levels until you're happy with the effect.
wider and the bottom 2cms wider. Pop it in your frame and voila! Easy print at home art.
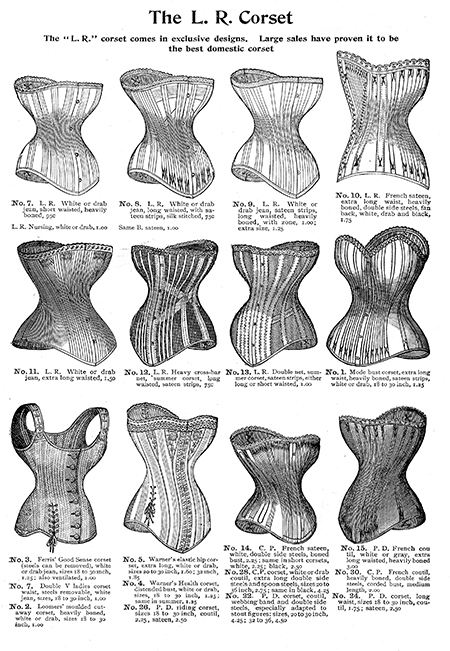
If you're not that confident with photo editing then you can always go to this amazing website, The Graphics Fairy, where Karen has made available thousands of carefully selected and restored vintage images. They are free to use and are copyright free so you can simply click and print. I ended up
using these cool sewing themed images in my studio...
 If you end up doing some DIY print art then feel free to share pics on my Facebook page, I'd love to see them! Leanne xx


I love love love this idea....
ReplyDeletethanks for sharing...you now have a new follower too..!
bestest to you and yours this weekend
daisy j
Thank you Daisy, glad you like it! :o)
ReplyDeleteYou have a lovely weekend too, Leanne xx
Thank you for this post! As someone who wants to become a fashion designer, I’m always looking for affordable ways to decorate my space, and your tip on DIY art prints is perfect and as to balance my studies with my dream, I rely on an assignment writing service in Melbourne to keep up with my studies.
ReplyDelete